Wednesday, March 21, 2012

Tweety in Dough Guest post


Good day readers of arts crafts n hobbies ,Today i am very happy to host my first Guest post by a very creative young Pakistani Crafter "Fairy "lets see what she has brought for us !


Hi !thanks for having me here at arts crafts n hobbies I am fairy and moderator of www.hunerworld.com. I like to make inexpensive things look fabulous! It is possible to make your home fancy and beautiful with out spending much.I love to do glass painting, pot decoration flower making ,landscape painting nylon flower making. I am delighted to be Guest here! I hope you will check out my site and be inspired to create something of your own!

Baby tweety’’


You will need:
1. Italian dough in yellow, orange and black colors
2. roller and pin
3. German white glue
4. scissor
5. red tiny bow


Method:

First of all, you have to cook Italian dough and keep it cool and use it after one day ,then knead it well and divide it into three portions, add yellow oil paint in dough and knead it well with hands
until mix completely, then add a drop of orange oil paint in small amount of dough and knead it well then add small amount of black oil paint in some dough and mix it well.If you dont know how to make Italian dough then click here for the recipe

Body

Take some portion of yellow dough and make a ball with your hands its size should be about 2 cm this will make tweety,s head. For the body make an oval shape with your hands using a large portion of yellow dough ,its size should be about 4 cm.

Face

To make the eyes take small amount of black dough and shape it like a tiny balls , make two small balls in same size .these are our tweety's eyes. Let them dry.For the beak cut a diamond shape from the orange flattened dough (shown in the 3rd picture)


Now flatten yellow and orange dough with the roller to make the wings feet and beak of tweety!


Wings

Cut flatten yellow dough shape it like a wing with the scissor,make two wings of the same size.

Feet

For the feet cut orange flatten dough into small circle of about 1 cm and then shape them zigzag on one side .make a pair of these .

Assembling
Now the fun begins ,glue the head of the tweety on top of the oval and stick the ribbon and the bow in such a way that it covers the joint of head and body.Stick a feather on top of the head and place the eyes and beak on their right spots.
Put some glue on wings and stick them to the body's left and right side . Paste feet one by one and let them dry completely,and finally your handmade baby tweety bird is ready to be given as a gift to your loving kids / friends .

Well friends i hope you like this cute and easy project from Fairy here are some more interesting projects she has done ........ aren't these lovely :)


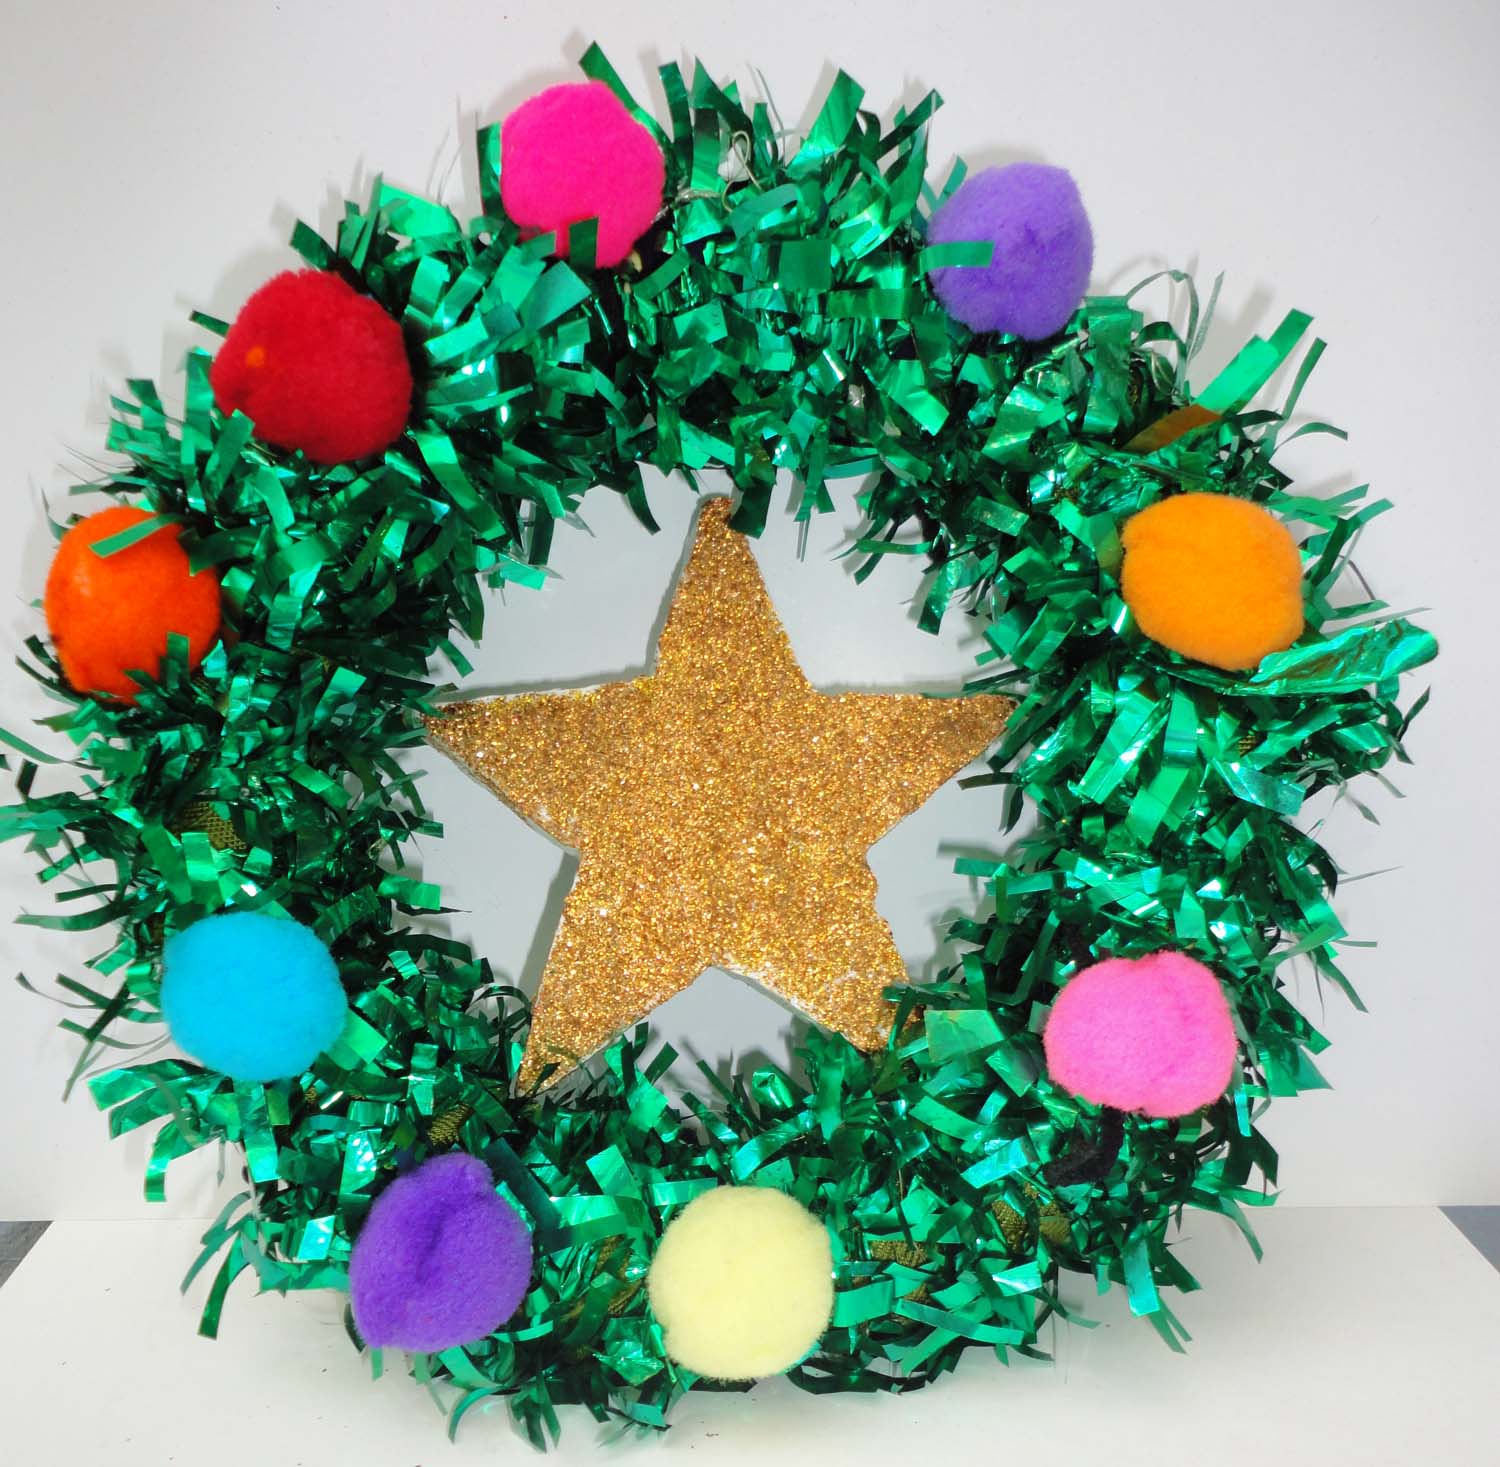
  1. Christmas wreath craft
  2. Italian dough vegetables
  3. and glass painted plate
You can check out these and some other very interesting tutorials of Fairy by clicking here

feel free to share your comments and suggestions with fairy @

contact :fairy4art@gmail.com
facebook:creative.fairy@yahoo.com

If you also want to do a guest post on arts crafts n hobbies then click hear or go to the get featured page above ,its simple and easy .

Friday, March 16, 2012

A Bow ,Yoyo and a Rosette Combo ,on a head band


Good day friends hows life :) over here its getting better after the end of my daughters final exams ...... Sheeewwww ,man that sure was a hard time and do you know what i do to make my self relax :) oh yes Crafting and creating new things and this is the latest out come of my relaxing
time .


OK lets talk about the PROCEDURE


you will be needing
  • a YoYo
  • a ribbon rosette
  • a bead for the center of the rosette
  • a scrappy piece of coordinating ribbon

THE BOW

double the ribbon keeping the joint in the middle take a few stitches,


pull and tie ,you made your self a basic bow.


now stitch or hot glue a yoyo on top of the bow .....I am sure by now you all must be knowing how to make a YOYO but if you dont then click hear to learn


Now stick the Rosette on top ...again if you wanna learn how to make a rosette click here :)

now stick this beautiful COMBO on to a head band you can use a plain plastic one or cover it with ribbon of coordinating color (like the one in the top most picture ).


LINKING TO THESE WONDERFUL PARTIES

Sunday, March 4, 2012

Lets welcome the spring with a bunch of fabric flowers :)

Good day friends hows life going on at your end :) Over here in Pakistan the pleasant change in the weather has begun though its still more towards the coldish side but still its pleasant as its not as " Extreme " as it used to be .There was a time when i used to enjoy winters ......But not any more ,after i have had kids i sort of dislike winters as my kiddos are really sensitive to cold :(

Any how coming back to the real topic these are the pictures of the fabric flower brooches that got sold in my online shop in the past few weeks i have been keeping the pictures to share with you all at the arrival of spring and now i feel is the right time...... so have a look and enjoy.

This one is my personal favorite i just love how the combination of pink and white self printed silk turned out.


For this one i have a lil confession to make the material was really thin and this was my fist attempt for this type of petals so was never totally satisfied with it .


Look at this beauty ! its made with the same technique i used to make the red pointy petal flower i showed you above but this time i had experience so better and neat results,


and with this one i literally played and experimented with :) and enjoyed every bit of making it and am very happy with the out come .


Hummm ......!The Poppy flower that i really loved its made using the simple technique of gluing together the circles of different sizes with melted edges .


The six round petal Kanzashi flowers ,look at the center of this one i used a round glass pebble on it and it look quite interesting :) what do you think ?
Hey .... why dont you tell me in the comments bellow which one you liked the best :)
Take care and enjoy the new spring


Sharing this post on these wonderful Link Parties

Monday, February 20, 2012

plastic bottle gift pack (another idea)


Good day friends hows life ,spring is about to come and this has placed me so much into recycling mode as you will notice from my posts to come :)
Today i will share a simple idea on how to use the base of an empty plastic bottle as a gift pack for any occation like bithdays or as party favours ,use any goodies to fill ,sweets ,stationary items for kids or some small toys .


That's the stuff you will be needing
  • an empty plastic bottle (i am using a small size bottle)
  • paper knife
  • beaded rubber band
  • scrappy piece of cloth( cut out a circle big enough to cover the top of your bottle)
  • a piece of scrape book paper


remove the label from the bottle and cut from some where in the mid of the bottle.


Now slightly melt the sides of the rim using a candle flame to avoid sharp edges,

cut a rubber band from one side and thread some colorful beads in it and then tie it off to make a beaded stretchy band to seal your gift pack.


That's it you have done your difficult part now is the fun part! just add in your goodies cover it with your fabric circle and place the beaded rubber band on it.I have also added a small paper circle on top with a birthday massage for a more interesting look ! but its optional .


Hummmm.... when talking about recycling ,dont you think it would be such a waste to through away the top part of the bottle ! Um ..... No there is a very clever use for that too :) Use it as a Kiev or funnel to fill in stuff to the bottles/containers you use in your home .......Or .....Yup there is another very interesting use for this part but i will share that with you all in my next post .....Till then SUSPENSE :)

Take care .....and see you soon

Linking to
Friday fun party

and to these parties

Sunday, February 5, 2012

Upcycled Soda bottle dessert packs


Happy Eid Milad-un-Nabi every one (the birth day of our beloved and last Prophet Muhammad P.B.U.H according to the lunar calender).
In Pakistan its a common practice to make or buy sweets to share with the neighbors ,friend and family on such special religious occasions .Usually people take these goodies to others either in some platters or dishes they own or in market bought disposable containers but both have some draw backs the Platters and dishes has to be returned so the receiver has to go through the trouble of emptying and washing them before returning and the disposable containers don't have to be returned but hear in Pakistan their rates are considerably high so to avoid these problems why not we up-cycle some thing that we all have in abundance and they usually end up in our trash cans YES you got me right i am talking about empty soda Bottles!

HOW TO


to make these you need 1.5 litter or 2.25 litter soda bottles remove the label and cut them app 3 inch below the the mid line .you can easily cut these with precision knives or scissors,


now cut the rim 6 times horizontally making six equal flaps (roughly 4 to 5 inches deep) be-careful with the depth of the cuts they all should be equal.


now at this stage fill up your container slightly below the lower edge of your flaps I am using the semolina desert in them (recipe available here) ,now comes the fun part start to fold the flaps inwards and create a crease by pressing it hard with your fingers


continue to do that with every next flap


in the end you will end up with a hexagon on the top of your container add some embellishment on the top like a ribbon Bow or some fabric flower ,over here i am using 3 different types of tissue paper roses is peach and light purple colour ....the camera is not doing justice with the colours in the indoor lights:(


That's it your up cycled soda bottle containers are all ready to be presented to your dear ones , so for the next time plan ahead and save some soda bottles for an occasion ,these would work great for the Birthday Party favors too :) .enjoy


Linking to these parties


LinkWithin

Related Posts with Thumbnails