Showing posts with label home decore. Show all posts

Wednesday, March 21, 2012

Tweety in Dough Guest post


Good day readers of arts crafts n hobbies ,Today i am very happy to host my first Guest post by a very creative young Pakistani Crafter "Fairy "lets see what she has brought for us !


Hi !thanks for having me here at arts crafts n hobbies I am fairy and moderator of www.hunerworld.com. I like to make inexpensive things look fabulous! It is possible to make your home fancy and beautiful with out spending much.I love to do glass painting, pot decoration flower making ,landscape painting nylon flower making. I am delighted to be Guest here! I hope you will check out my site and be inspired to create something of your own!

Baby tweety’’


You will need:
1. Italian dough in yellow, orange and black colors
2. roller and pin
3. German white glue
4. scissor
5. red tiny bow


Method:

First of all, you have to cook Italian dough and keep it cool and use it after one day ,then knead it well and divide it into three portions, add yellow oil paint in dough and knead it well with hands
until mix completely, then add a drop of orange oil paint in small amount of dough and knead it well then add small amount of black oil paint in some dough and mix it well.If you dont know how to make Italian dough then click here for the recipe

Body

Take some portion of yellow dough and make a ball with your hands its size should be about 2 cm this will make tweety,s head. For the body make an oval shape with your hands using a large portion of yellow dough ,its size should be about 4 cm.

Face

To make the eyes take small amount of black dough and shape it like a tiny balls , make two small balls in same size .these are our tweety's eyes. Let them dry.For the beak cut a diamond shape from the orange flattened dough (shown in the 3rd picture)


Now flatten yellow and orange dough with the roller to make the wings feet and beak of tweety!


Wings

Cut flatten yellow dough shape it like a wing with the scissor,make two wings of the same size.

Feet

For the feet cut orange flatten dough into small circle of about 1 cm and then shape them zigzag on one side .make a pair of these .

Assembling
Now the fun begins ,glue the head of the tweety on top of the oval and stick the ribbon and the bow in such a way that it covers the joint of head and body.Stick a feather on top of the head and place the eyes and beak on their right spots.
Put some glue on wings and stick them to the body's left and right side . Paste feet one by one and let them dry completely,and finally your handmade baby tweety bird is ready to be given as a gift to your loving kids / friends .

Well friends i hope you like this cute and easy project from Fairy here are some more interesting projects she has done ........ aren't these lovely :)
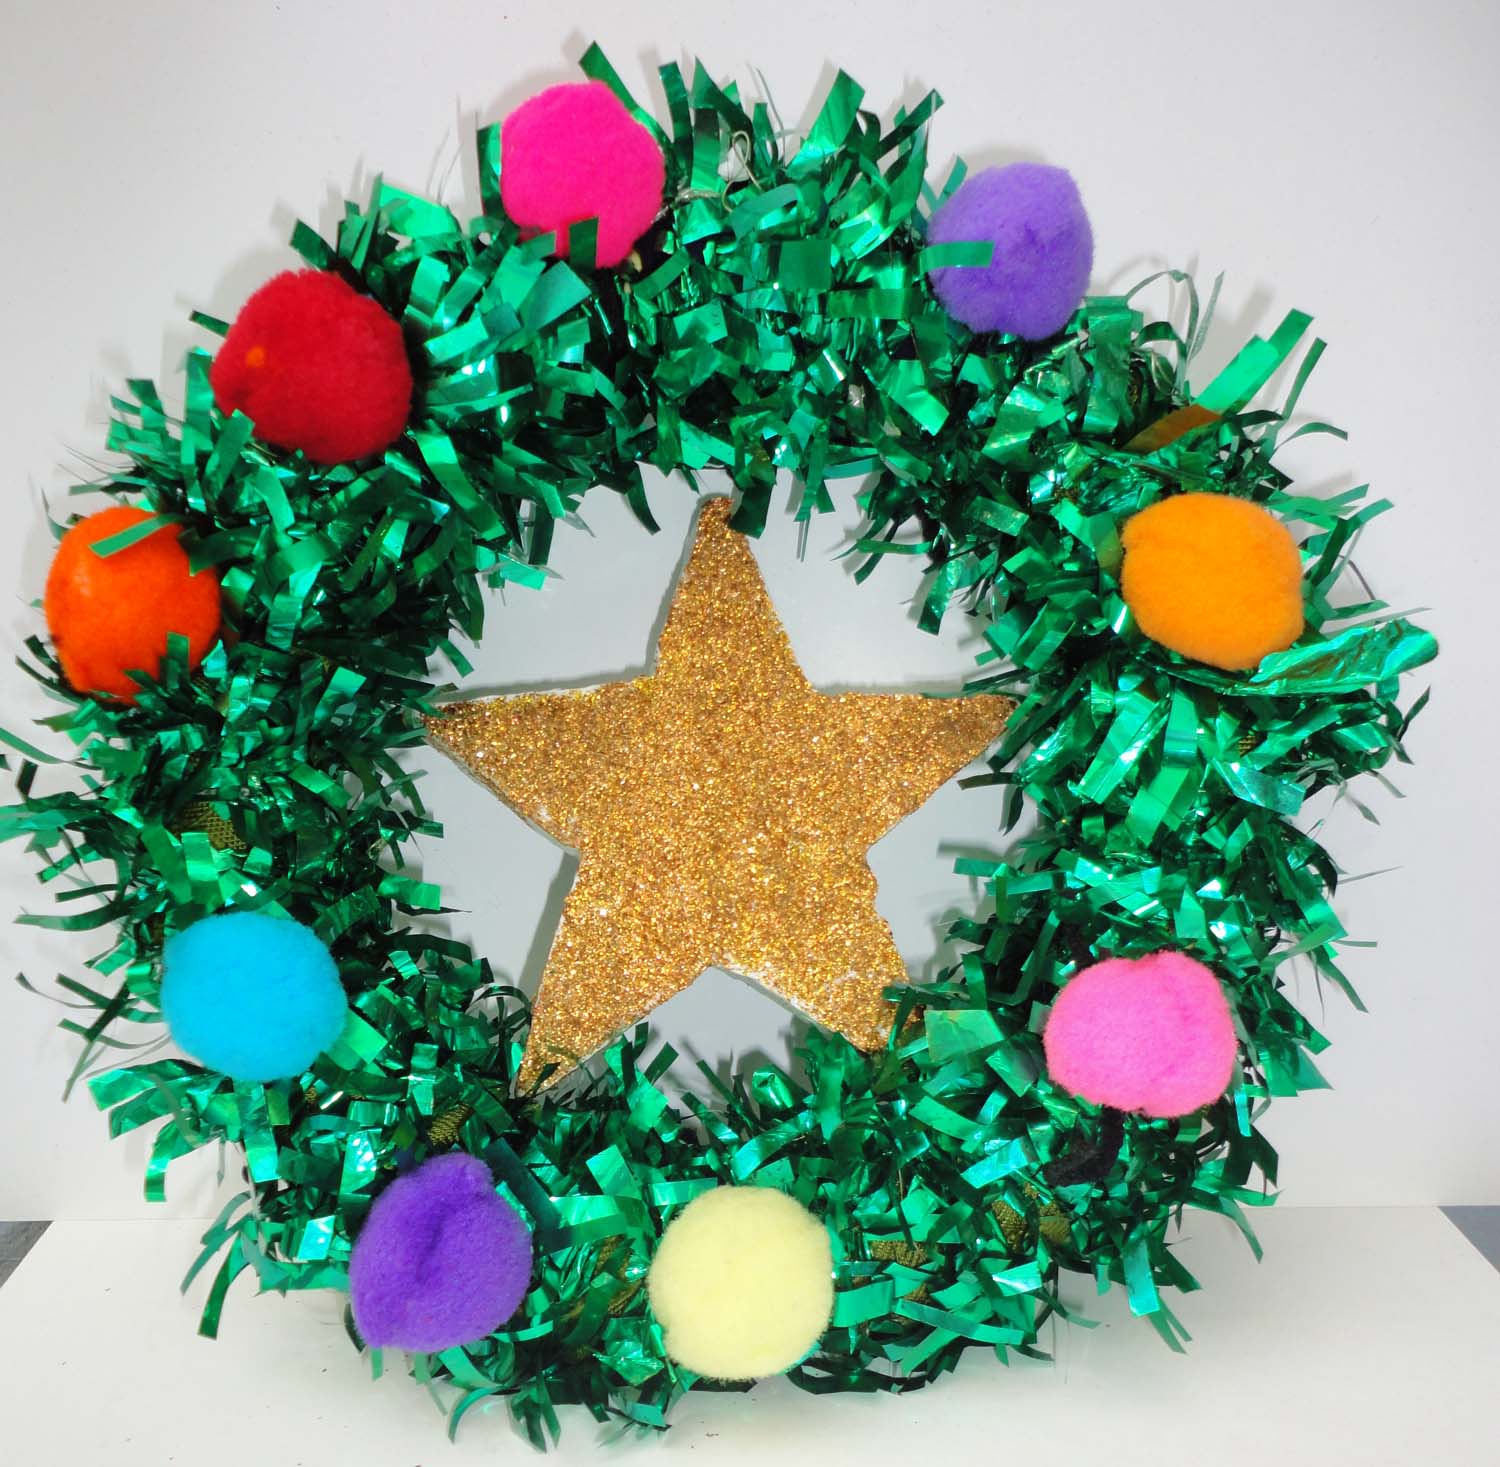


  1. Christmas wreath craft
  2. Italian dough vegetables
  3. and glass painted plate
You can check out these and some other very interesting tutorials of Fairy by clicking here

feel free to share your comments and suggestions with fairy @

contact :fairy4art@gmail.com
facebook:creative.fairy@yahoo.com

If you also want to do a guest post on arts crafts n hobbies then click hear or go to the get featured page above ,its simple and easy .

Friday, December 16, 2011

Empty Olive Oil Bottle Decore Tutorial


Good day friends ,hows life ,pretty busy routine for me as you all must have noticed by now by the little amount of posts i write :) .Today i wanna share a project of mine with you that i completed some 4 Weeks ago but never had the time to compile the pictures together and give it a form of a tutorial and blogger is totally in mood of playing games with me i am writing the whole post for the 2nd time :( although it was getting auto saved but even then every thing just vanished and only the first paragraph was left ARRRGGGGGG I HATE THAT :( ...any how whats done is done so lets take a deep breath let the anger flow out of me ! and i feel better :)...


OK
lets tell you what are we going to need for this project


  • empty olive oil bottle or any other glass bottle
  • German white glue
  • jute cord
  • Round glass balls
  • and last but not least transparent water crystals


first of all thoroughly wash and dry your bottle , then put a generous amount of white glue on the neck of the bottle and on the middle front make two glue circles ,i am doing that on the engraved glass label in order to hide it .


OK now start rolling your jute cord on the neck of the bottle until fully covered and then cut off the access


now make two spirals about 1.5 inch wide and place them on the glue circles

now leave the bottle for 2 hours so that every thing settles down a bit ,


after this time rub some more white German glue on the cord with your fingers ,this step will not only make your just decoration more durable but it will also add a beautiful shine to it when it get completely dry and don't worry about the white appearance of wet glue as it will get transparent when it dries off completely also add the glass balls to the center of the spirals and leave to dry ,it will take about 1 to 2 days to get completely dry so be patient :)

Now comes the fun part that is adding water crystals these are easily available in decoration shops just add the tiny balls to water in a wide container leave over night and they will swell up almost triple their original size by absorbing water ,just fill up your bottle with these transparent crystals .These crystals will need to be soaked in water every fort night but i have experienced that if you put them in a narrow neck container like this olive oil bottle they don't need soaking even for the whole month .


thats it friends i hope you like this project


related projects


Linking to these parties (click here)

Monday, August 15, 2011

Flower arrangement on a dry root


Hi friends hows life i am back again to share an other simple arrangement i have made on the dry root ,Yup its the one i was talking about yesterday so hear is a glance of it as i promised .

Its a pretty simple arrangement and hardly took 10 minutes to finish ,i kept it simple as the root it self has a very interesting shape so did not want the flowers to act as a distraction .
All I did was that i hot glued the flowers in place and then added some white beads hear and there to add some further life to the dull root .As i mentioned yesterday i found this root in a dam covered with mud i brought it home scrubbed it clean sun dried it and gave it two coats of varnish to preserve it ,and by the way this root is with me from the last 12 years i found it before my marriage ,and since then i have decorated it in different styles but sadly never took any pictures back then :( {i never knew i will start blogging one day :) } .That's it for today my friends wish you a very happy,healthy and blessed day .

Thursday, August 11, 2011

The Wash Basin Tap Revamp


Hello dear friends how r u all ,today's post is a simple idea to improve the look of old wash basin Tap Valves .No! No.....you dont have to be a plumber for that, neither you need heavy tools like giant sized ranches ,screw drivers etc ,all you need is a some news paper and some spray paint thats it .
Wana know how to do this ?


OK hears the embarrassing "before picture" of our wash basin Tap some how the moisture and dust have entered in between the two layers of the valves giving it a very ugly and dirty look and the interesting thing is that it can not be disassembled or opened so that we can clean it out :( now the only solution left is to change the tap valves but unfortunately its an old design and spare parts are not available for this one so we either had to change the tap it self or just keep it as it is but i was not happy either way so thats what i did.


I tore long strips of news paper dipped them in water and then warped the tap stem and covered the area of wall and basin around the tap .The reason i dipped the news paper in water was that it makes the wrapping really easy and manageable, that not all wet news paper would temporarily stick to what ever surface it comes in contact with so it was really easy to cover the back wall and parts of basin.

Dry the valves with tissue paper and spray paint them with the coordinating color with your sanitary,let dry for half an hour and give it an other coat of spray paint and again leave to dry . Remove the news paper,if some paint accidentally leaked through the news paper ,no worries ! it can be very easily rubbed clean with paint Thinner.

there my new clean tap valves :) hope you liked them too!

Wednesday, August 10, 2011

Fused light Bulb decore tutorial


hi friends ,hows life ? Today i will share an easy projects that is totally about up-cycling junk :)

Tuesday, June 28, 2011

Faux Fish globe


Hi friend today i want to show you my brand new" fish home".

Well what do you think about it :) a fish container that does not need to be cleaned on a regular basis and a fish that needs no feeding ,no care, can be left out for a long period of time and would never become sick or will die because of the bad care ....Hummm like the idea :) ?


OK enough beating about the bush lets come to business and tell you how its made ,well guys this is the great idea of Jane lake and i found it one day just by chance when i was randomly browsing the net i loved the idea soooo much that i just got to make this one i bought all the materials needed from a craft store but unfortunately couldn't find a small round fish bowl so i bought this large glass as my fish container.
Things you will need to make this project
  • water crystals (transparent balls)
  • plastic fish
  • coral or sea shells
  • A container
for the detailed instructions and tutorial click here


my sweet little jelly gold fish ,yup its not made up of plastic its made with the same water absorbing jelly like material from which water crystals are made ,now they are easily available in a large variety of colors and shapes originally they are quite tiny but when soaked in water they swell up almost double their original size.
You can actually see the round water crystals at the top near the brim of the glass !actually the catch behind this is that these transparent crystals disappear when submerged in water so the fish placed in them seems to be swimming in the water .


Linking to
nap time crafters friday favs party

linky party no.59

LinkWithin

Related Posts with Thumbnails