Showing posts with label crafts. Show all posts

Wednesday, March 21, 2012

Tweety in Dough Guest post


Good day readers of arts crafts n hobbies ,Today i am very happy to host my first Guest post by a very creative young Pakistani Crafter "Fairy "lets see what she has brought for us !


Hi !thanks for having me here at arts crafts n hobbies I am fairy and moderator of www.hunerworld.com. I like to make inexpensive things look fabulous! It is possible to make your home fancy and beautiful with out spending much.I love to do glass painting, pot decoration flower making ,landscape painting nylon flower making. I am delighted to be Guest here! I hope you will check out my site and be inspired to create something of your own!

Baby tweety’’


You will need:
1. Italian dough in yellow, orange and black colors
2. roller and pin
3. German white glue
4. scissor
5. red tiny bow


Method:

First of all, you have to cook Italian dough and keep it cool and use it after one day ,then knead it well and divide it into three portions, add yellow oil paint in dough and knead it well with hands
until mix completely, then add a drop of orange oil paint in small amount of dough and knead it well then add small amount of black oil paint in some dough and mix it well.If you dont know how to make Italian dough then click here for the recipe

Body

Take some portion of yellow dough and make a ball with your hands its size should be about 2 cm this will make tweety,s head. For the body make an oval shape with your hands using a large portion of yellow dough ,its size should be about 4 cm.

Face

To make the eyes take small amount of black dough and shape it like a tiny balls , make two small balls in same size .these are our tweety's eyes. Let them dry.For the beak cut a diamond shape from the orange flattened dough (shown in the 3rd picture)


Now flatten yellow and orange dough with the roller to make the wings feet and beak of tweety!


Wings

Cut flatten yellow dough shape it like a wing with the scissor,make two wings of the same size.

Feet

For the feet cut orange flatten dough into small circle of about 1 cm and then shape them zigzag on one side .make a pair of these .

Assembling
Now the fun begins ,glue the head of the tweety on top of the oval and stick the ribbon and the bow in such a way that it covers the joint of head and body.Stick a feather on top of the head and place the eyes and beak on their right spots.
Put some glue on wings and stick them to the body's left and right side . Paste feet one by one and let them dry completely,and finally your handmade baby tweety bird is ready to be given as a gift to your loving kids / friends .

Well friends i hope you like this cute and easy project from Fairy here are some more interesting projects she has done ........ aren't these lovely :)
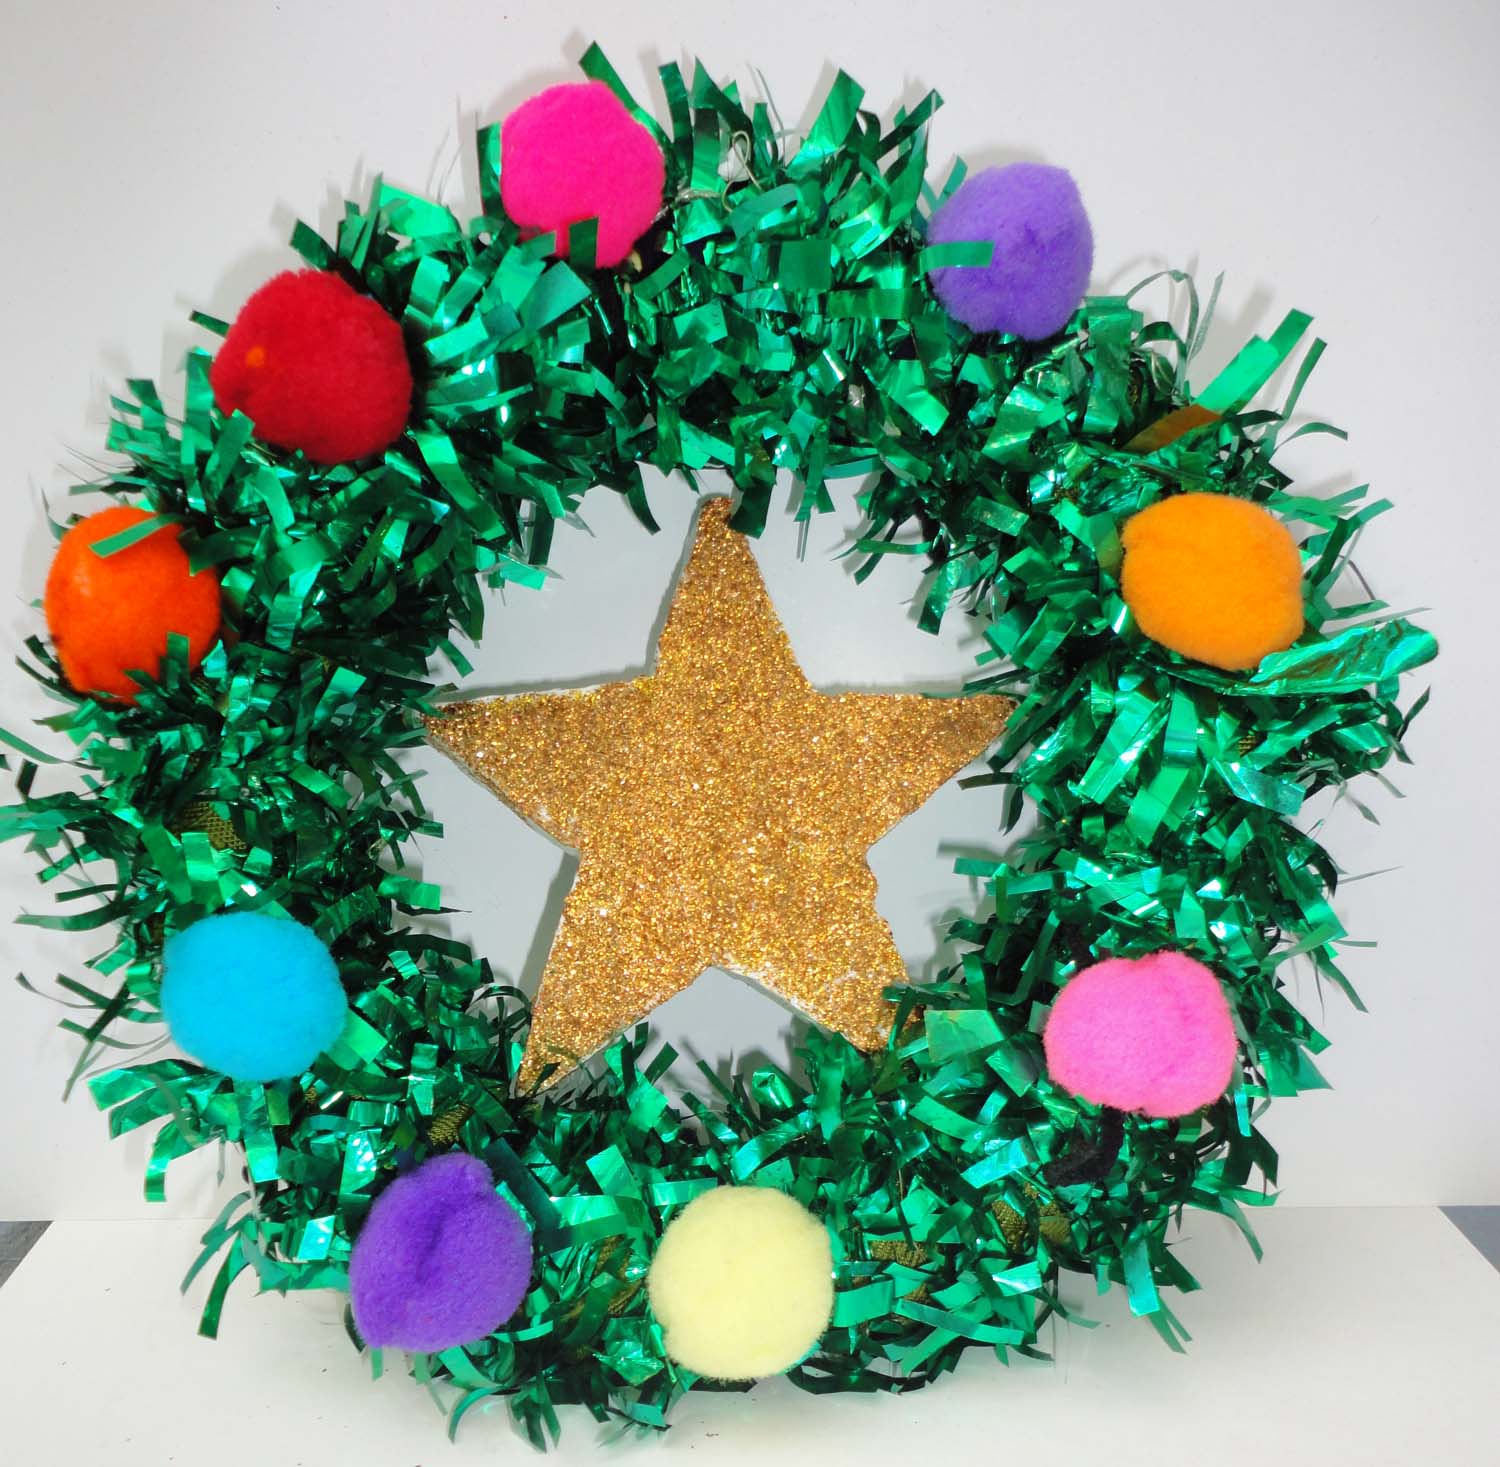


  1. Christmas wreath craft
  2. Italian dough vegetables
  3. and glass painted plate
You can check out these and some other very interesting tutorials of Fairy by clicking here

feel free to share your comments and suggestions with fairy @

contact :fairy4art@gmail.com
facebook:creative.fairy@yahoo.com

If you also want to do a guest post on arts crafts n hobbies then click hear or go to the get featured page above ,its simple and easy .

Friday, March 16, 2012

A Bow ,Yoyo and a Rosette Combo ,on a head band


Good day friends hows life :) over here its getting better after the end of my daughters final exams ...... Sheeewwww ,man that sure was a hard time and do you know what i do to make my self relax :) oh yes Crafting and creating new things and this is the latest out come of my relaxing
time .


OK lets talk about the PROCEDURE


you will be needing
  • a YoYo
  • a ribbon rosette
  • a bead for the center of the rosette
  • a scrappy piece of coordinating ribbon

THE BOW

double the ribbon keeping the joint in the middle take a few stitches,


pull and tie ,you made your self a basic bow.


now stitch or hot glue a yoyo on top of the bow .....I am sure by now you all must be knowing how to make a YOYO but if you dont then click hear to learn


Now stick the Rosette on top ...again if you wanna learn how to make a rosette click here :)

now stick this beautiful COMBO on to a head band you can use a plain plastic one or cover it with ribbon of coordinating color (like the one in the top most picture ).


LINKING TO THESE WONDERFUL PARTIES

Tuesday, November 22, 2011

Kanzashi flower head band


hi friends today i am going to share my latest creation with you ! a bright orange Kanzashi flower fixed on off white double bow


The center of a flower is a simple button with a pearl glued in the center the button is both glued and hand stitched with the flower and bow for extra durability


thats the back part ,since the ribbon wrapped plastic head band is quiet thin and delicate to provide a wide base to settle the flower on ,i used an extra trim of the same ribbon at the base for support .The open edges of the ribbon is heat treated to avoid fraying .
hope you like it :)

Sunday, October 2, 2011

10 minutes flat Sandle's Revamp


Good day friends ,hows life , i am so angry on my self for not being able to be a good and regular blogger ,may be my Gall bladder(removed by surgery)has taken away my punctuality with it :) but the good news is that the creativity inside me is still very much alive so we have HOPE! :)
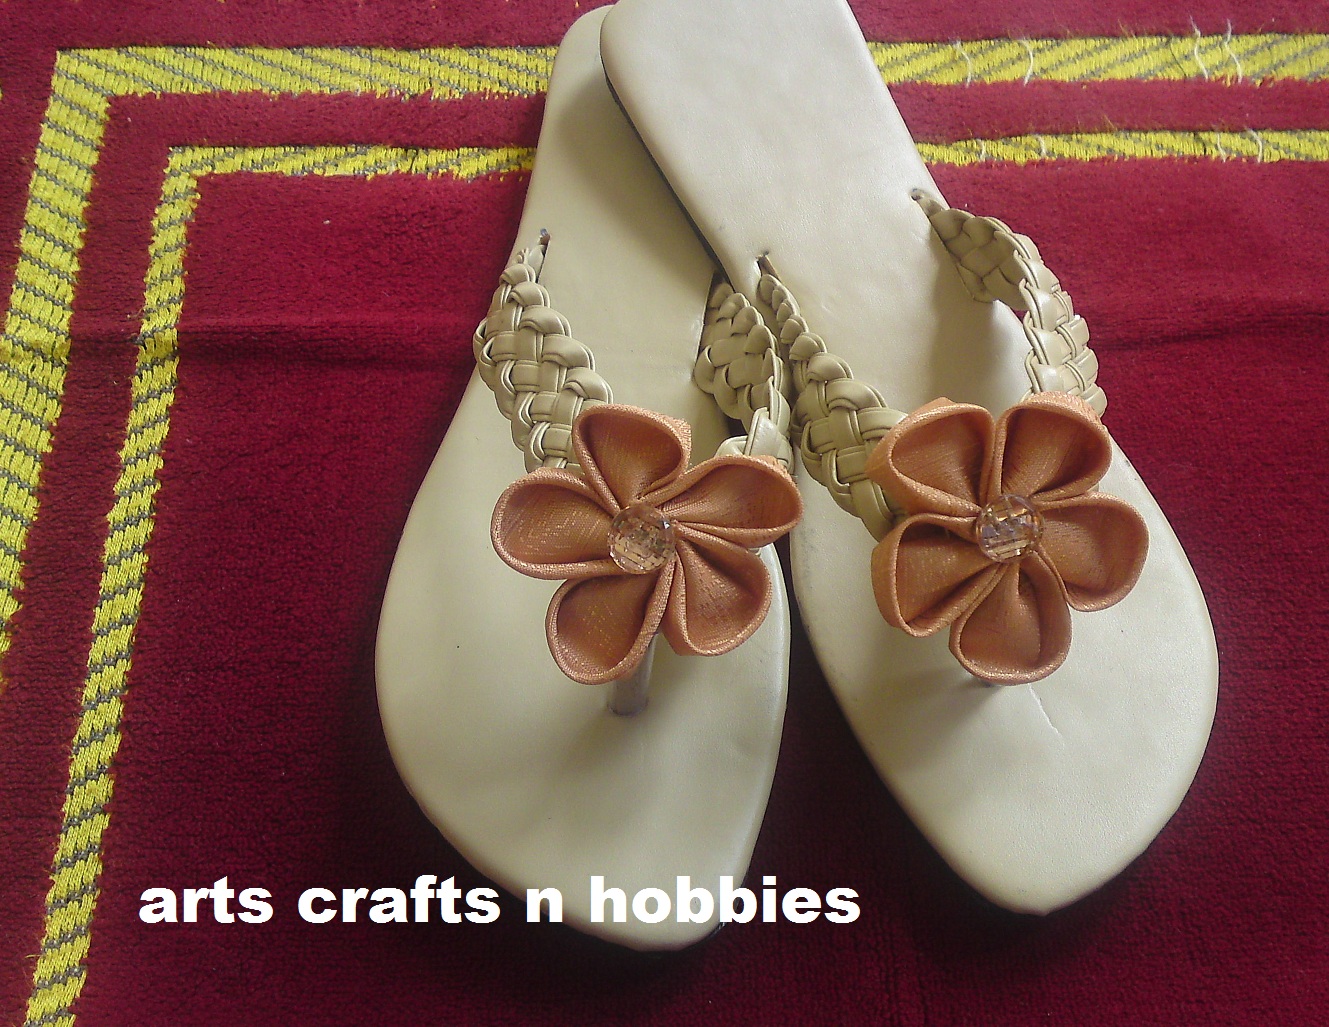
ok enough beating about the bush lets get back to business a few days back i was enjoying the shopping trip with my elder sis and found some really cool woven flat sandals and they were at a quite reasonable price with lots of potential in them .


So with out secont thought i brought them home and decided to embellish them with simple Kanzashi flowers which i once learned from a Korean friend of mine Miss .Enjang Park .I still miss her at times such a sweet girl :).


I selected this slightly stiff peach color silk fabric and created the two beauties ,its slightly difficult to work with silk in flower making but its worth the shiny look ,for the center i used these fancy peach color buttons which i already had since a long time waiting in my craft box to beautify some thing and yesterday was their big day.


the straps are wide enough so they gave me sufficient area to settle the flowers on them in center with the help of hot glue ,and TADAAAAAA all done some really trendy looking flats are waiting to be worn :) hope you like this simple revamp .

Thursday, August 18, 2011

YOYO Embellished Head band tute


My kids have recently started using head bands instead of pony tails so i made some cute head bands for them i will share them one by one with you all.
Today i will share the maroon and white one which i made to go with a cute dress that my little one has .


the things you will need
  • 1 large YOYO in maroon velvet
  • 1 smaller yoyo in white silk
  • two scrappy strips of white net
  • a vintage button
  • needle and thread
  • transparent glue or glue gun
  • black plastic head band

How to make a yoyo tutorial (in case you dont know how to make one already click on this link)


its pretty simple just stitch the white yoyo on top of the velvet one


add the button in the middle


sew running stitch along one side of the net strips ,pull and secure thread before breaking it off.


stitch the two net fan like shapes at the back of the maroon yoyo and stick this whole thing with the head band thats it friends all done :) hope you like it .a perfect match for the dress ! see how happy she is MahsaAllah:)


linking to
Sunday scoop link to party
Sunday showcase party w/clean mama

Sunday linky party no.29

Wednesday, June 15, 2011

Excellent play dough recipe


Hi friends summer is" ON "and summer vacations have also started so every mother knows that the only refuge for her left is to keep the children busy in some nondestructive positive activity ,playing with play dough is one of them :) but the play doughs available in market are not only quite expensive here in Pakistan but the thing that bothers me most is that we don't know what its made from and what type of toxic colors are used in it and we happily spend our own hard earned money on buying this poison for our kids and let them play with it ,for the very reason i decided to experiment and make my own home made play dough with 100% non toxic ingredients and yesterday i finally succeeded in making an excellent play dough with the ingredients that are all ready present in every kitchen .
R U ready for my very own cheep play dough recipe :)

INGREDIENTS;
  • 1cup fine all purpose flour (with out self raising agent)
  • half cup fine rock salt
  • 1table spoon vegetable oil
  • 1 cup synthetic white vinegar
PROCEDURE;
  1. Thoroughly mix all the dry ingredients with your hands by rubbing them in your palms thus breaking any lumps (if present).
  2. In a cooking pan add the oil and vinegar to the dry mixture and mix well with a whisk.
  3. On low heat cook for 1 or 2 minutes and continuously stir until the dough is no more sticky to the sides of the pan and starts gathering in the center of the pan this is the sign that its ready, remove from heat and take it out of the pan.
  4. Let it cool down a bit when easy to handle(but still warm) kneed it on a clean hard surface .
  5. Add food colors of your choice.
  6. If the stinky smell of vinegar is bothering you just add 2 drops of vanilla essence! but i will recommend you not to add the essence as the bad smell of vinegar will reduce the urge in your children to eat and taste the dough :)
  7. Place in a air tight jar and if ever you feel that its getting dry with time or while playing under a ceiling fan then simply add a few drops of water to it and slightly kneed it and store back in the airtight container ,it will be good as new.

some miniature dough fruits my daughter present me as a gift for my effort :)

Wednesday, May 25, 2011

twisted rainbow wire rings


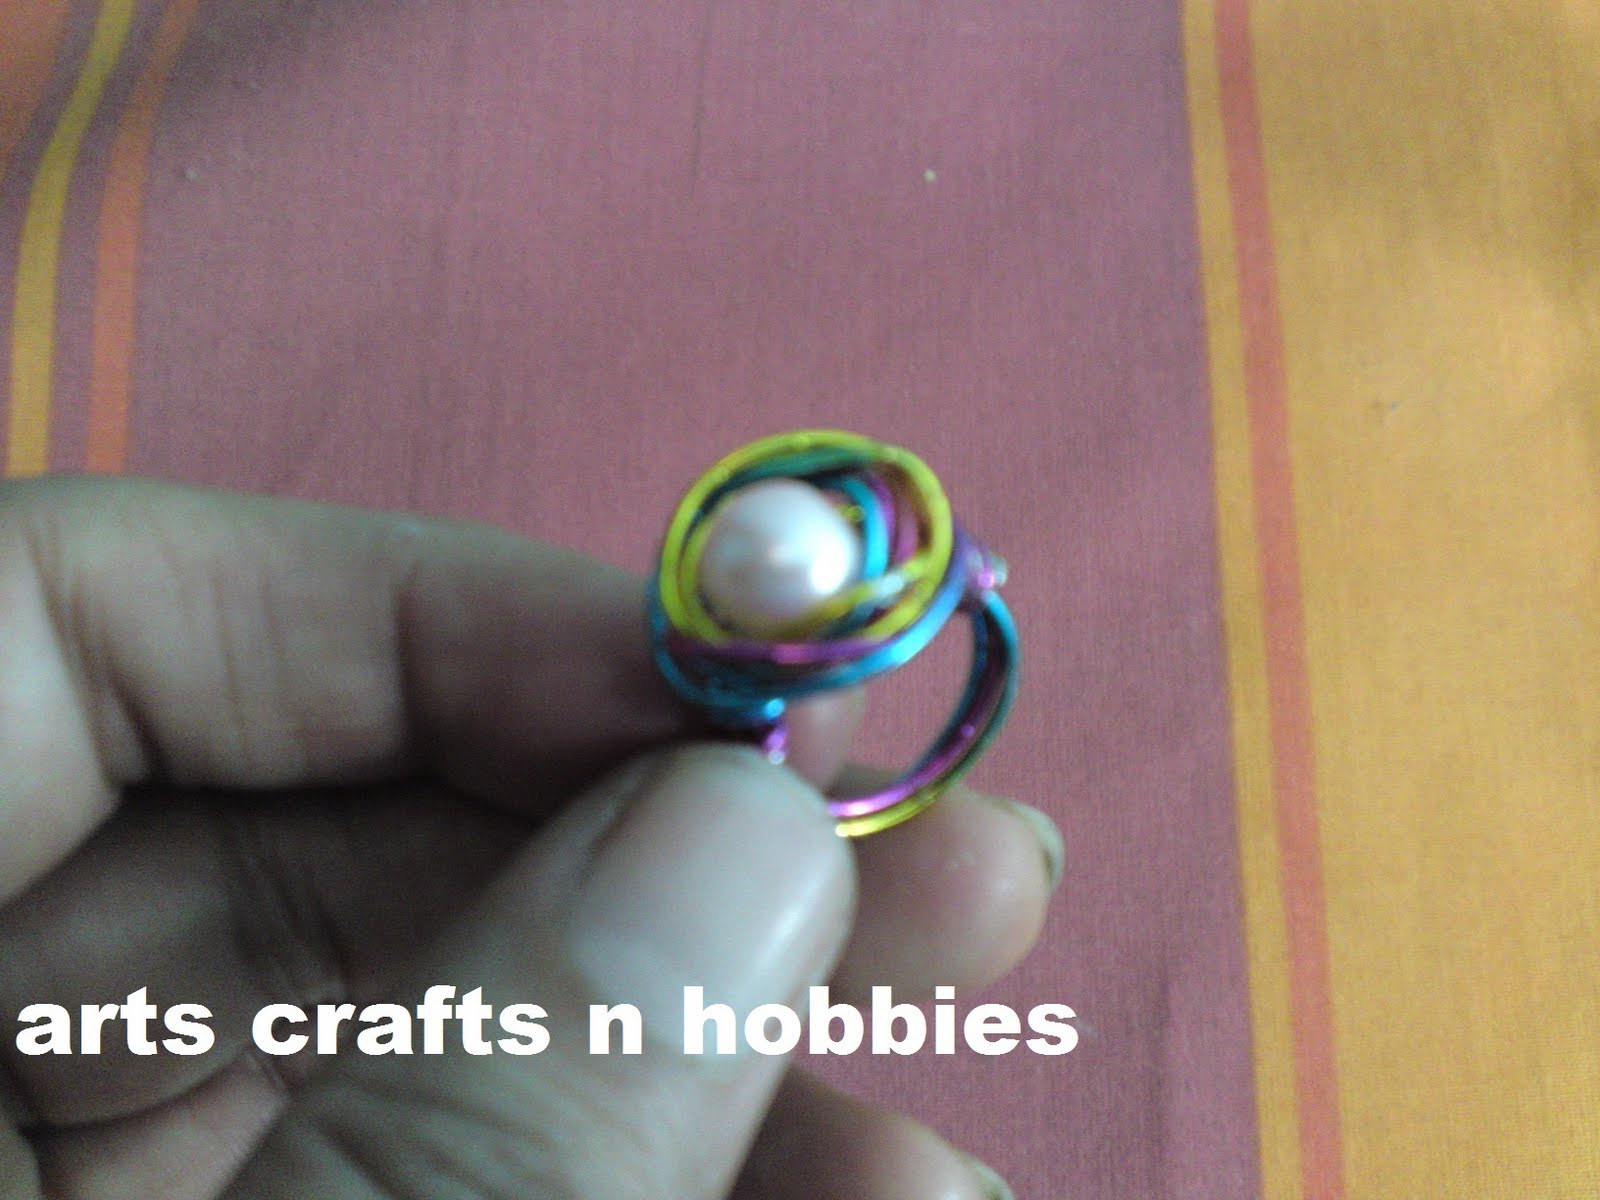
this is a random post about my first attempt on the wire jewelry .I found this rainbow colored wire in a craft store a few months back, at that time i had no project in my mind in which i can use these beauties. A few days ago my elder daughter wanted me to make finger rings for her and for her school friends ........... this was a difficult wish :( as i am not very good in jewelery making! I had to see a lot of videos on You-tube for this purpose and learned some basic techniques from there and then i remembered my rainbow wires.......... i was so overwhelmed with joy :)

and this is the final result .......

The most difficult of the procedure was to find a perfect cylinder shape to roll the wire on to get the perfect size for the tiny fingers ,luckily a ballpoint pen served the purpose :)


rainbow colors were perfect for the beautiful angel hands :)


I am not totally satisfied with this attempt of mine but my daughters are really happy to own their new rings :) and so long as they serve the purpose i am happy too ........ now i should be worried about my own fingers i have to twist and turn the wires for at least 8 more times to get 8 more rings for the school friends of my elder one :)

linking to :
show off your stuff party
strut your stuff

Tuesday, April 5, 2011

free hand pot painting


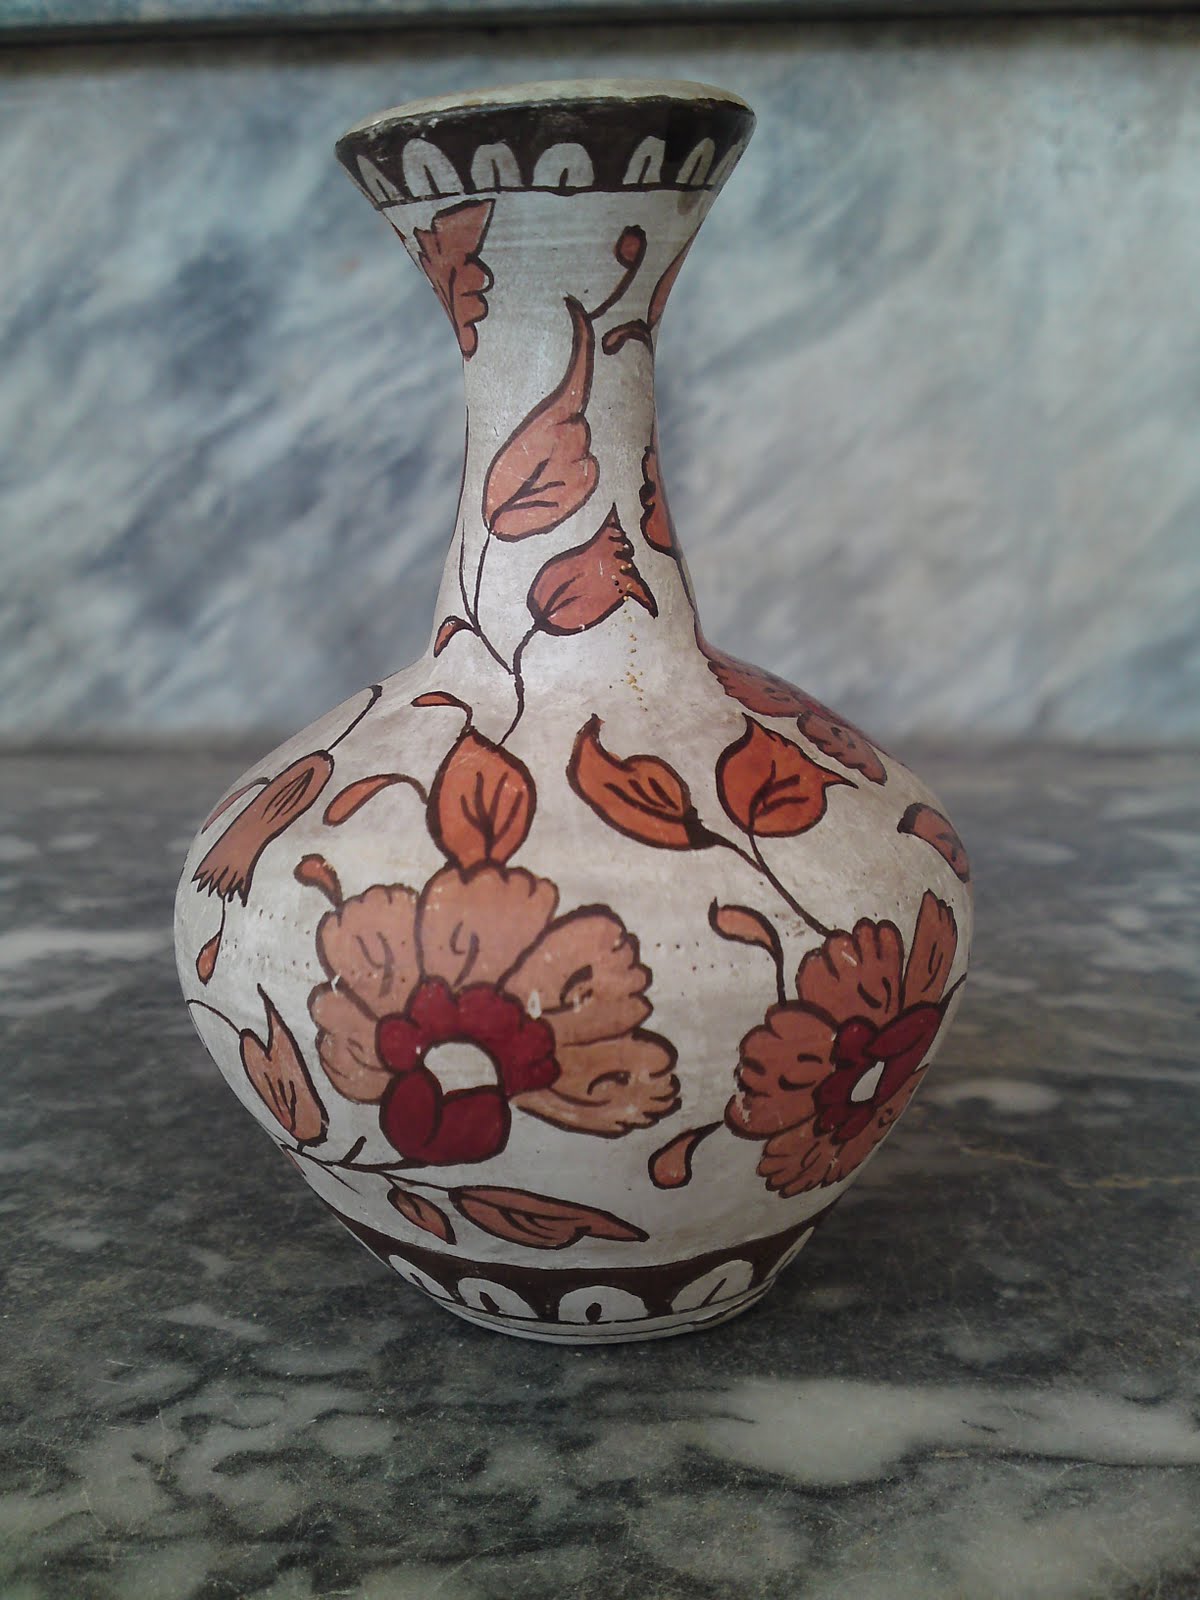
I painted this little terracotta pot some 15 years ago :) yup it will soon be a vintage item now ! i was studding back then and pot painting became my hobby for a while .This vase is one of many pots that i painted and it still is with me :) rest of them were given to friends and relatives as gifts, if i saw them ever i will definitely share them with you all


I drew a free hand floral design with a pencil and then painted it with simple poster paints ! shades of brown are used with a out line of darker tone ,the out line is drawn with a zero size brush .The mistake i committed was that i never coated it with clear varnish because of which the white back ground developed a bit shabby look over the time, which as a matter of fact i like now :) again a mistake that turned out great (the regular readers of my blog will under stand what i am talking about for the newbies click hear)


a bit more detailed look of the floral design and my camera just could not bare the beauty so it took a blurred pic :(

by the way now i have sprayed it with clear lacquer spray to save the shabby look from turning into a dirty look :)

Monday, February 7, 2011

give away "Every follower is a winner

Hi friends as you all know that its now more then one year since i started this blog as a hobby now its becoming a passion ,so at this occasion i decided to start a give away in which every entry will be the winner .....Hum you must be thinking that hows that possible! well friends where there is a will there is a way :)


OK lets show you what you will be winning in this give away


A TUTORIAL OF RECYCLED PLASTIC CURLED UP HEART PENDENTS
A very elaborated tutorial with 17 step by step pictures along with description, its made in Microsoft word .A perfect gift for your friends on this valentine's day.

Rules to enter
  • You have to be a follower ,new followers are most welcome :)
  • All the followers new or old must leave a comment down hear that they want the tutorial along with their email address ,I repeat "with their email address "so that i can send the tutorial to your in-box.
  • The tutorial will reach your in-box within the first 24 hours after i get your comment.
I am waiting guys :) best of luck


linking to :
I made this Tuesday #13 with This and that
Get your crafts on with today's creative blog
Take a look Tuesday with Sugar bee craft edition
72nd penny pinching party by The Thrifty Home
valentine's Galore by some day crafts
We did it ! Wednesday by Sew much Ado
show and tell by Blue cricket designs
WFMW ,my encouragement Bowl by We are that family
strut your stuff Thursday by some what simple
under 100$ linky party by beyond the picket fence
cheap thrills Thursday by black cat designs
look what i made 2-9-11 by creations by Kara
show off your stuff party by Fireflies and jellybeans
who made what?weekends party#9 by naturally me creations
linky party No.42 by Tea Rose Home
give aways reviews by it's a blog party

Tuesday, February 1, 2011

A quick shoe refashion


I bought a black pair of canvas shoes a few days ago ,they are comfortable like hell but soooooo boringly simple ,so i worked out a quick 10 minutes refashion.


That's what my new canvas shoes looked like before .


i removed the tag sewn on it .


Doubled a strip of black velvet fabric and roled it into a Rosette , sewed it on top of the shoe with needle and thread and added a white bead in center ,I always prefer to sew my flowers on the wearable items as its much more durable then glue and it also does not damage the fabrics .
learn how to make rosettes in this tutorial


linking to
tea rose home link party no 41

who made what party no.8

Saturday, January 8, 2011

sliver flower hair clips


click on the picture to see a larger version


Another pair of cute little hair clips with a slight silvery festive look. They look much more better in real then photographed i am a lousy photographer of black :( .
Plain black plastic coated clips are beatified with black and golden printed Jamawar fabric yoyos with a silver ribbon six petal flowers in center the yoyos and flowers are stitched together with needle and thread


they are bonded with the clip by glue and also stitched with needle and tread to the clip for a more strong bond .
the hair pins are 5 cm in length
the yoyos are 4 cm wide
i am linking the post to tea rose home
Inspire me Monday#3


price : 2$ for the pair + the postage
shipped to world wide
method of payment: Pay Pal
Email me at artscraftsnhobbies@yahoo.com and i will answer all your questions and will send you the invoice for payment if you wana buy them .

Wednesday, December 22, 2010

Reusable paper gift bag


instead of wrapping your gifts in the expensive designer papers which eventually ends up in waste bins i think its a better option to put in a little effort and turn the paper into a beautiful gift bags which the receiver of your gift might like to use again .

here's the short list of supplies u will need
  • designer paper
  • a book
  • scissors
  • glue stick
  • ribbon or cord of coordinating color


First of all select a book that you think is of the right size to contain your gift,put it on the designer paper and cut a rectangle that would be just enough to wrap the book


now fold one side about 2 inches deep length wise , place the book over the wrong side of the paper and start wrapping


apply the glue stick to one edge and paste it covering the book


here's how you will cover the bottom


after pasting both the edges length wise turn the corners towards inside and paste them.


this is how the finished bottom should look like


care fully slide the book out


the basic structure of your gift bag is ready ,


to make the bag strong enough to carry the weight of the gift cut out two small strips from an old X-ray film or transparency i consider this step very important as the whole weight of the gift will shift towards the ribbon or cord handles and your paper bag will rip off from the punch holes in no time ! and you definitely don't want that to happen .If you are using X-ray strips your bag is able to carry fair amount of weight in it ,but please dont forget its a" paper bag" after all :)


apply glue stick on both the sides of X-ray film strips and slide them in between the fold that we have created at the brim of the bag like this


apply pressure with your hands to settle the strip in its place ,do the same with the other side too and make holes with punching machine , make sure the wholes are punched in the X-ray strip's area.


now slide in the ribbons from the holes tie a thick knots on all the 4 ends, if you are still not satisfied then care fully staple the ribbons with the bag just over the knots that way the knots will not slip out of the holes, if you are using cords then you dont need to staple .

In case you want to make a lot of these bags and want to store them in a convenient way with out using much space then fold the bags in this way


bring the two edges of one side of the bag together like this creating a center crease


continue to fold

when you reach the bottom you will automatically have a triangle press along the arrows and fold the bottom on one side like this


This way you fold the bag flat without damaging its shape .

That's it you made your self a beautiful gift bag in 15 minutes


Linking To


Blue cricket design

Get your craft on with today's creative blog

LinkWithin

Related Posts with Thumbnails